flowchart TD
  A{"street_network MultiLineString"}
  B["Polygons - no attributes"]
  C{"madrid_nbhds"}
  E["Polygons with District Information"]
  G["Block Polygons"]
  J["Table output with Averages per Neighbourhood"]
  K("RESULT: Districts 1-7 in .gpkg")

  A --> |"Polygonize"|B
  B --> |"Spatial Join"|E
  C --> |"Spatial Join"|E
  E --> |"Buffer of (-7m)"|G
  G --> |"(1) New field for Area"|G
  G --> |"(2) Statistics by categories"|J
  J --> |"(3) Attribute Join"|G
  J --> |"(4) New boolean 'block_area > nhood_mean'"|G
  J --> |"Select by attribute -> Export selection"|K

style A fill:#333333,color:#ffffff
style C fill:#333333,color:#ffffff
style K fill:#50eb5f
Processing Toolbox
The Processing Toolbox is QGIS’s central library of geoprocessing tools. Many operations can be achieved through multiple tools or tool combinations, each with different requirements and performance characteristics. Familiarity with what’s available helps you choose efficient approaches.
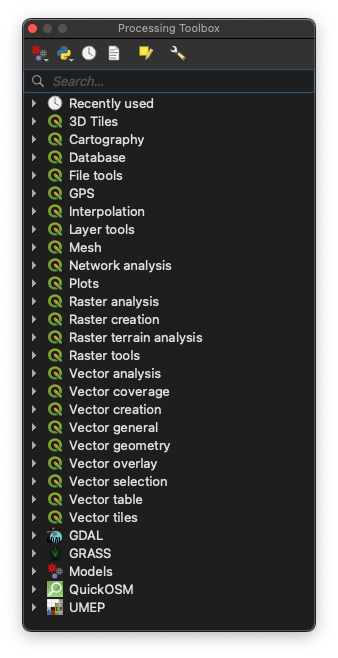
The Toolbox Panel
To activate the Toolbox Panel, go to Processing → Toolbox.
Most of your tools, whether inherent to QGIS or provided by a plugin, will be accessible here. Familiarizing yourself with the terminology of these processes will help you navigate the array of tools and ultimately yield better search results using the top search box.
In general, the processes in the Toolbox Panel can be categorized into four main groups:
- Inherent to QGIS (indicated by the QGIS logo)
- Providers like
GDALorGRASS(two robust open-source libraries at the core of many GIS processes) - Models (covered in the next section)
- Installed Plugins (sometimes)
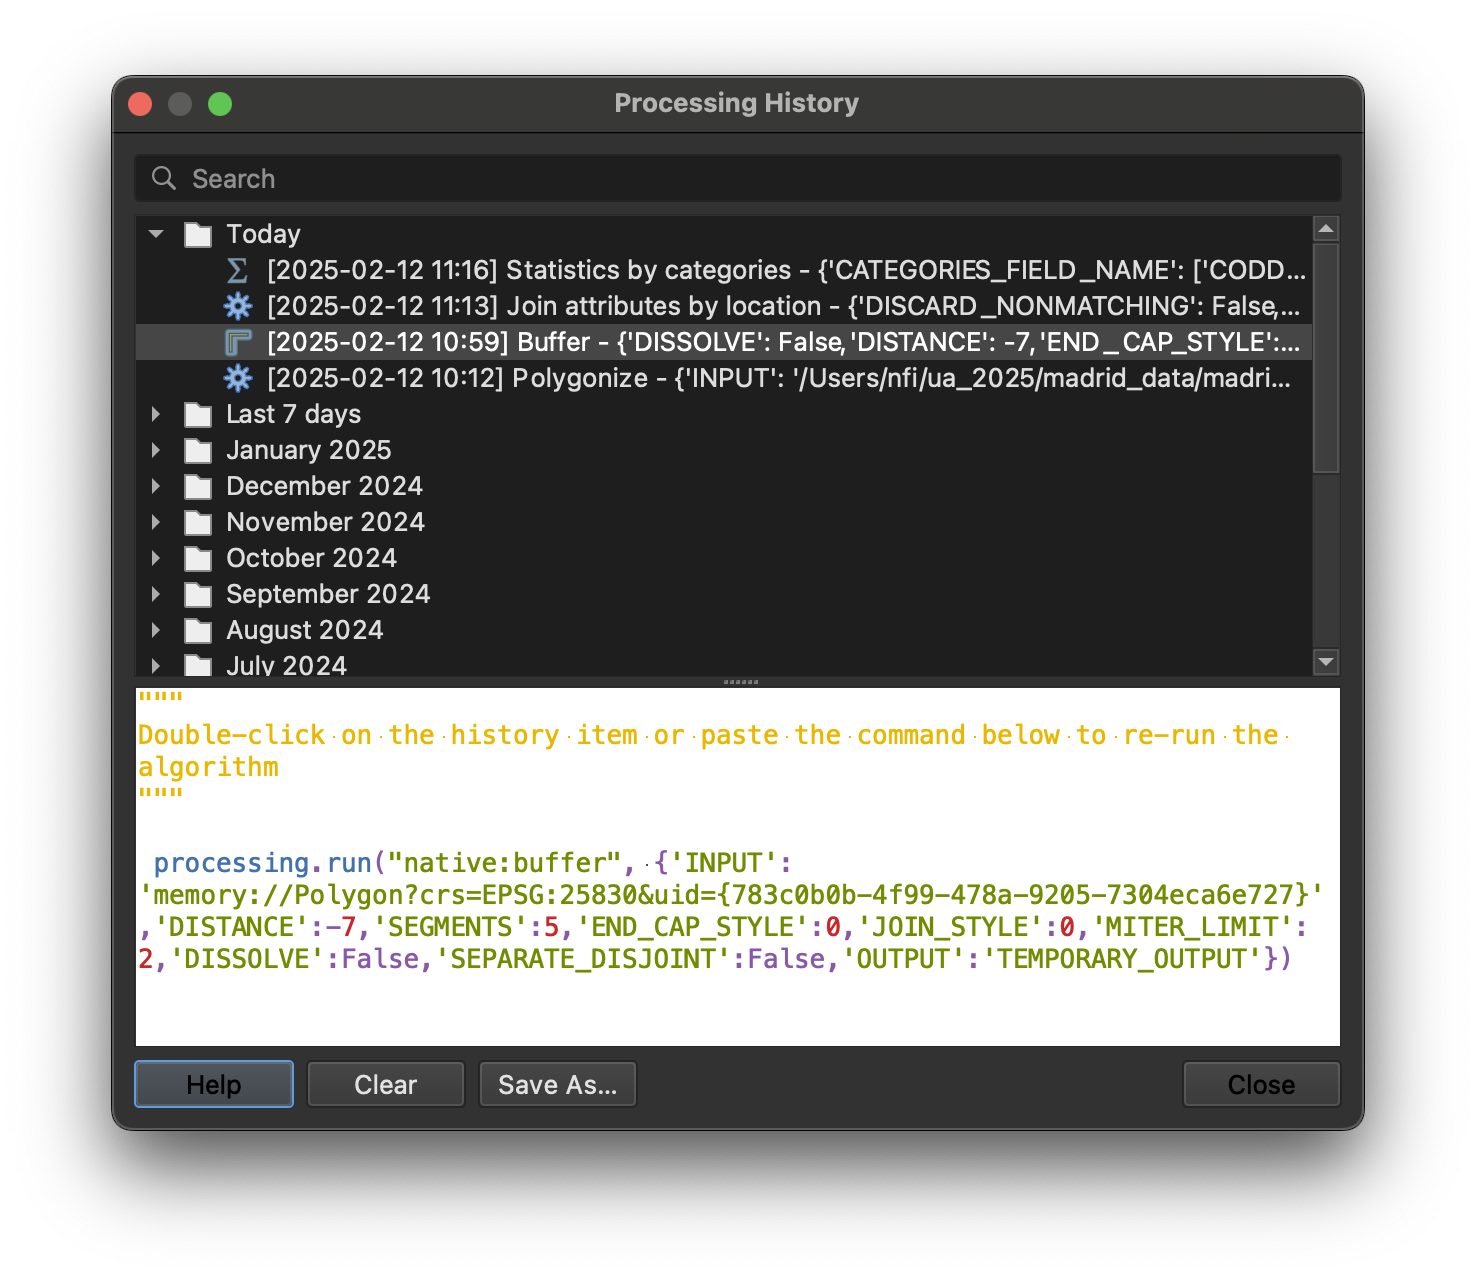
History Panel
The History panel records every processing operation you run. This is useful when a result isn’t what you expected (you can see exactly what parameters were used) or when you’ve achieved something you want to replicate (you can document the steps).
Select any previous task to review its parameters and the command that ran behind the scenes.
Planning Workflows
Some processes output temporary layers, which are useful for intermediate results but consume memory. Minimise these by planning your workflow before starting.
Identify your data sources and desired outcome, then break the process into smaller steps. Documenting each step makes it easier to troubleshoot problems and optimise the workflow later.
Challenge
NoteChallenge
Using the madrid_nbhds.gpkg and street_network.gpkg datasets from the datasets page, determine whether each urban block is above or below the average block size for its neighbourhood. Focus on Districts 1 to 7.
Before opening QGIS, sketch the steps on paper. Think about what each step produces and what the next step needs as input.
Tip
Multiple tool sequences can produce the same result. At this stage, a working workflow matters more than an optimal one.
NoteSolution
Tool reference:
| Step | QGIS Tool |
|---|---|
| Polygonize | Vector → Geometry Tools → Polygonize |
| Spatial Join | Vector → Data Management Tools → Join Attributes by Location |
| Buffer (-7m) | Vector → Geoprocessing Tools → Buffer (use negative distance to shrink) |
| New field for Area | Field Calculator with $area expression |
| Statistics by categories | Vector → Analysis Tools → Statistics by Categories |
| Attribute Join | Vector → Data Management Tools → Join Attributes by Field Value |
| Select by attribute | Select Features by Expression then Export → Save Selected Features As |
The -7m buffer creates an inset from the street edges, approximating the buildable area of each block.